
.jpg)
Here's a binding technique I had never tried before - a two-color pieced binding with joints on. the. corners! Good Challenge!

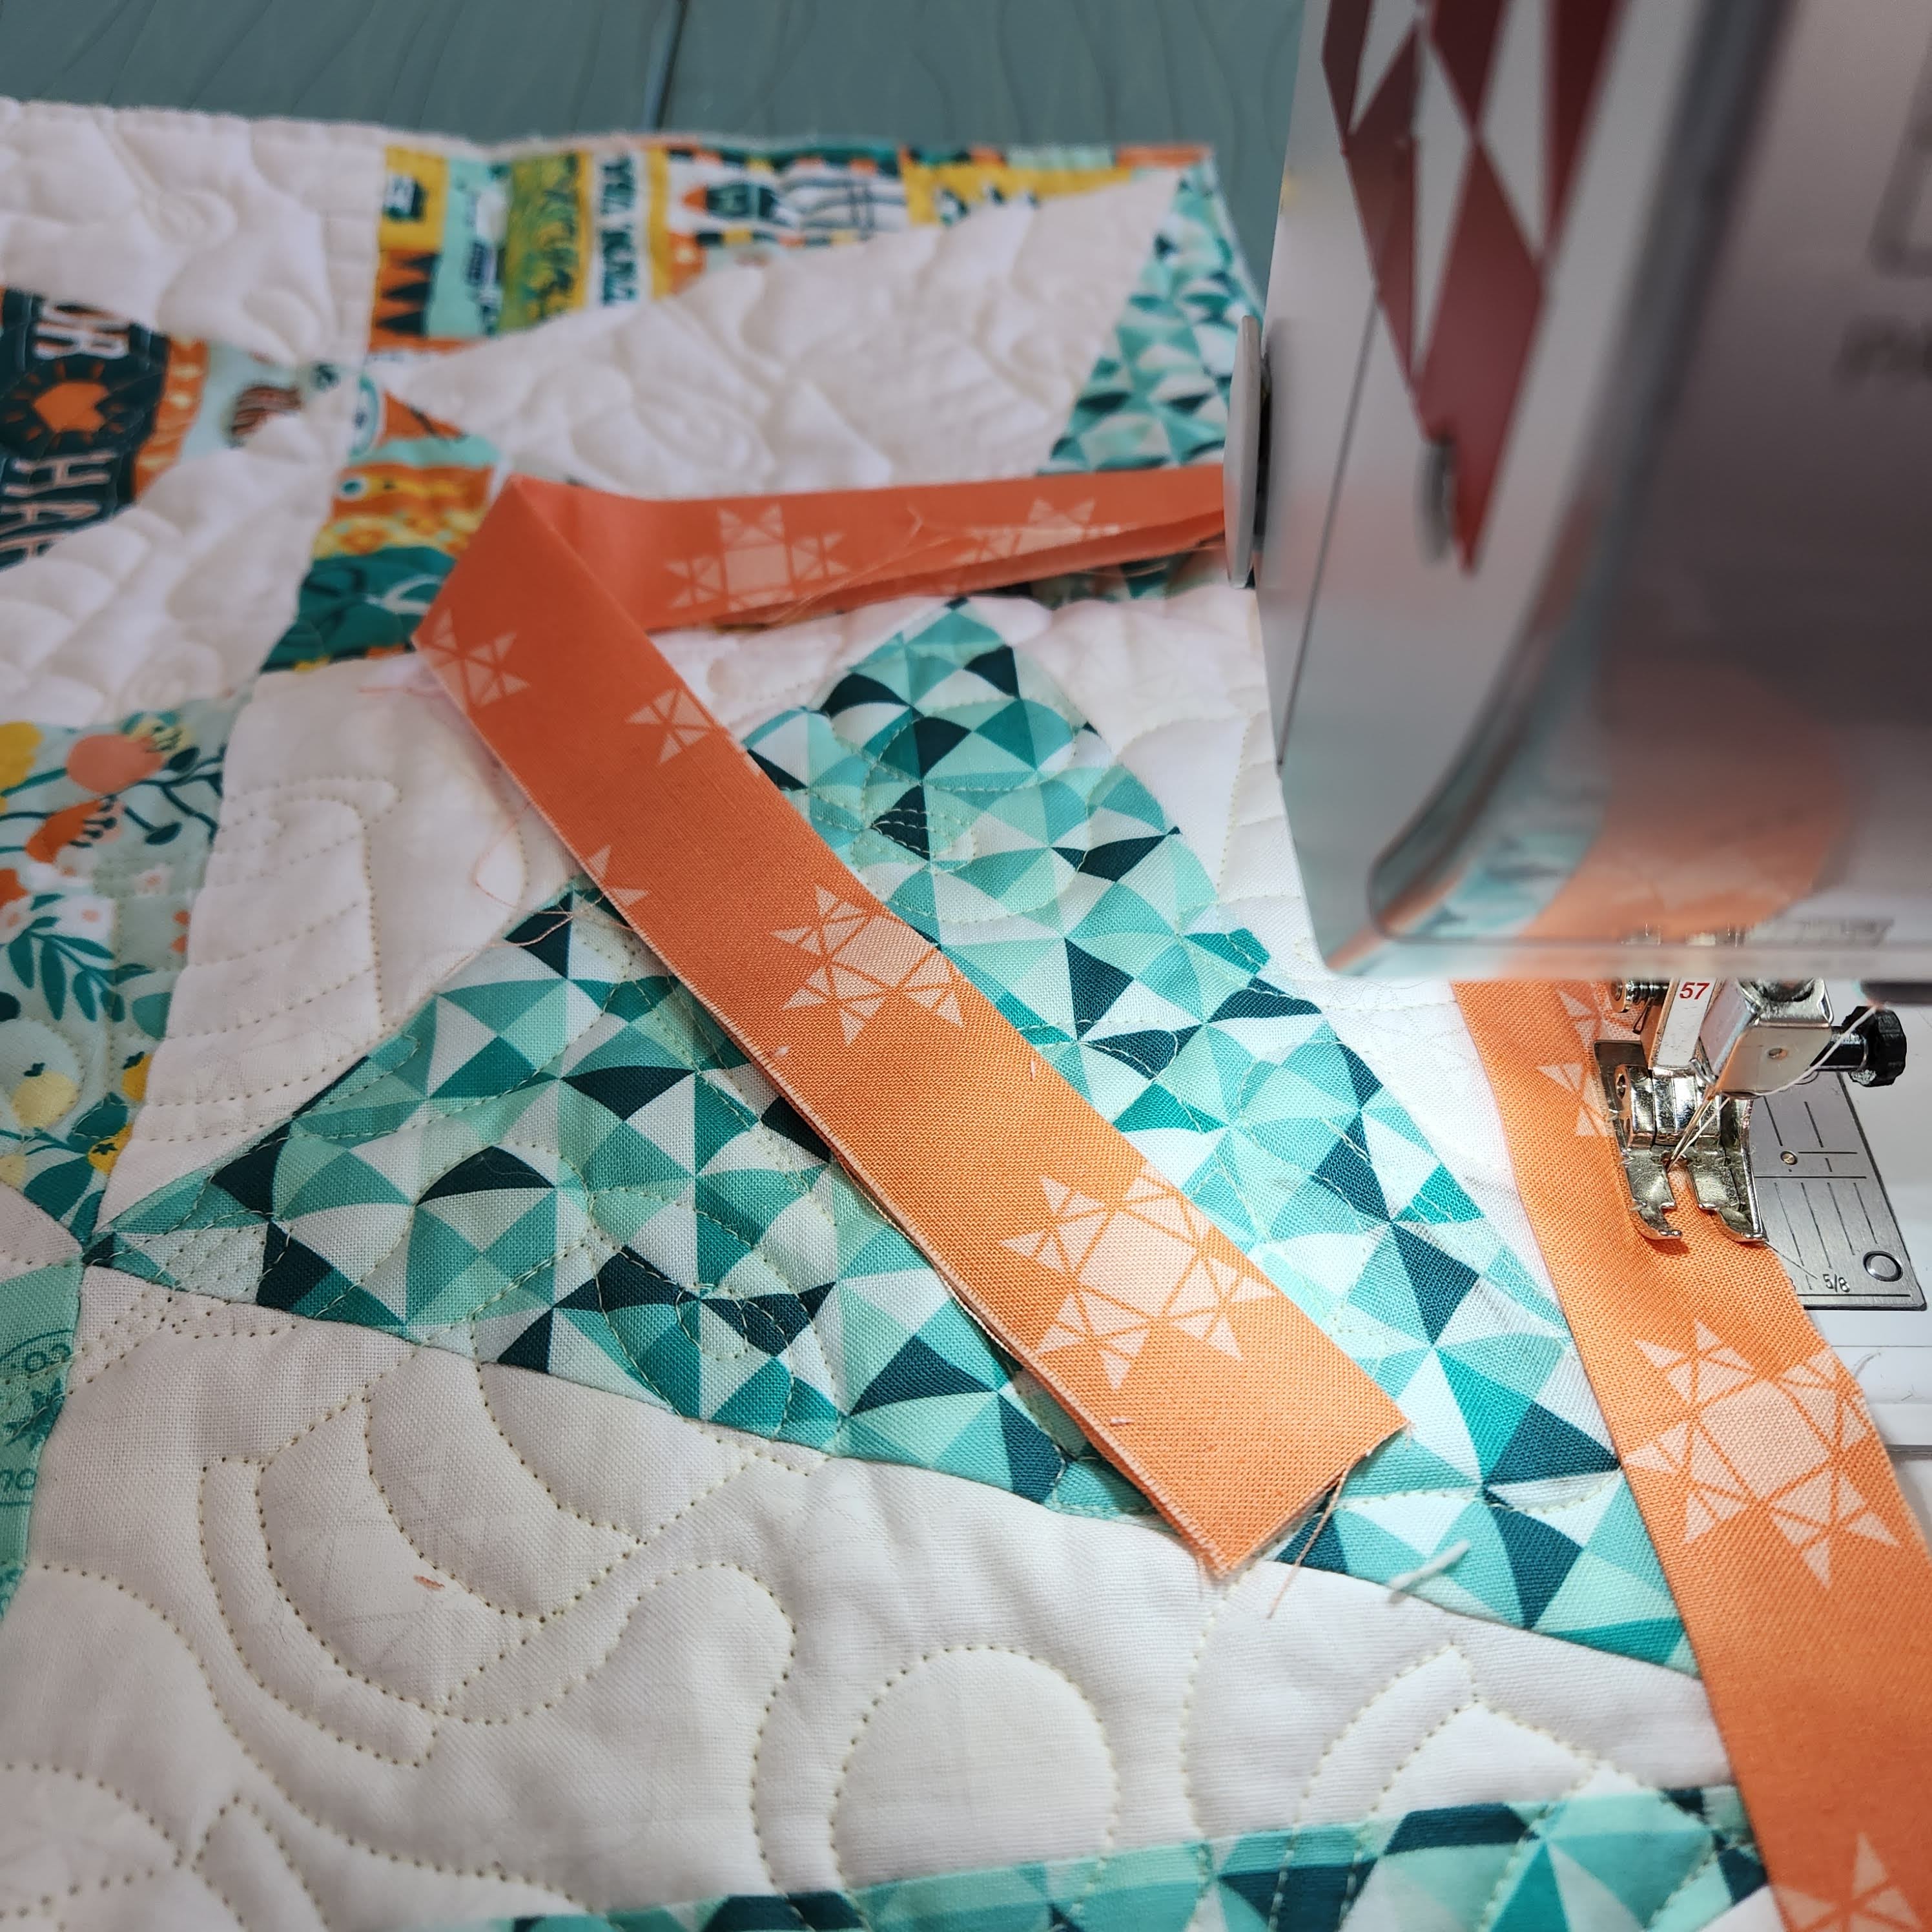
By the way, you can make a binding color change at any spot on your quilt, not just on the corners! The principle is the same, but it is quite a bit easier! Here's how I made this "piece-as-you-go" binding. I used 2-1/8" strips, joined with diagonal seams, trimmed and pressed open, then pressed each one lengthwise in half.


It started out great. When I stitched the binding to the corner, I initially thought I could just line up the seam, but my angle was all wrong! I zipped out the stitches and started again, this time, with separate pieces. I also considered making the final splice at the corner, but that also hurt my brain! The final splice will be somewhere along the side, not at the corner!

Step 1) Measure the quilt along two sides and add 3" for each splice, plus 8" for the final join. Because this is a square quilt measuring 60" x 60", I cut 134" of each color of fabric.
120" + 3" + 3" + 8|" = 134"
I pieced the two colors together, then wrapped them up in a Figure 8 bundle (see the video HERE).

Here's the tricky part: Stop about 4 inches before your desired color-change. Leave the needle down, and change the stitch length to as long a stitch as your machine will go, then baste all the way to the edge of the quilt. Remove from the sewing machine and clip the stitches.

Step 3) Finger-press the binding toward the edge along the basted line. Use a ruler to mark a 45 degree angle from the seamline out as pictured. Since I'm using 1/4" seam allowances, the 45-degree marking on the ruler should align with the seamline, then angle out 1/4" from the edge of the quilt toward the corner.


.jpg)


Step 8) Reduce the stitch length back to the regular stitch, and re-stitch the binding to the quilt. The joined seam should end right at the 1/4" seamline.

Fold the binding back down, aligning raw edges. The fold at the top should be even with the edge. Pin to secure, then start stitching again at the top edge of the quilt. Continue stitching the second color around the quilt. Miter the corner that is not pieced, then repeat steps 1-8 to piece strips together at the corner.
Join the final splice as directed in my Binding Basics TUTORIAL. Hand-stitch the binding to the back of the quilt, or stitch-in-the-ditch by machine on the front of the quilt, catching the binding on the back.
The result? I think it turned out pretty fun! Sure there's a little bulk on the corners, but it seemed to work out just fine! I suppose I could go back in and stitch the miters down if I really wanted to get technical... but this will do!


I like it! Have you tried this technique? Let me know what you think.
This "Piece-as-you-go" technique is one of 16 or so "Alternate Endings" in my upcoming book:
Ultimate Binding & Edge-Finishing Guide for Quilting & Sewing, shipping in February! Click on the photo below to pre-order your signed copy:

Happy Binding, indeed!
Deonn

Wow - that's so impressive! I don't think I could do that - it requires too much patience (and math!). Well done!
ReplyDeleteI am pleased to have found the tutorial. Thank you!
ReplyDeleteVery detailed and helpful directions, and I do love the photo illustrations, too.
I must agree with this that you wrote, “ In order to frame the color transitions, I decided to switch the colors for better contrast. I think it ties the two sides together.” 👍