
 |
Dino-mite Kids' Quilt, 55" x 63" featuring Eat Your Veggies fabrics by Sandy Gervais for Riley Blake Designs. |
As the designer herself stated, who knew eating your veggies could be so fun!

This cute maze panel might turn nap time into game time for my 2-year-old grandson! I couldn't resist. And as I was putting it together, the little guy popped up on a chair and started driving his little toy truck on the quilt. Yep, it was already kid-approved before it was even sewn up!
I used my go-to basic quilt with minimal fabrics:
1 Maze Panel
1/2 yard for sashing (cut 2" strips)
1 yard for borders (7" strips)
1/3 yard each of 4 prints for the prairie points (5" squares).
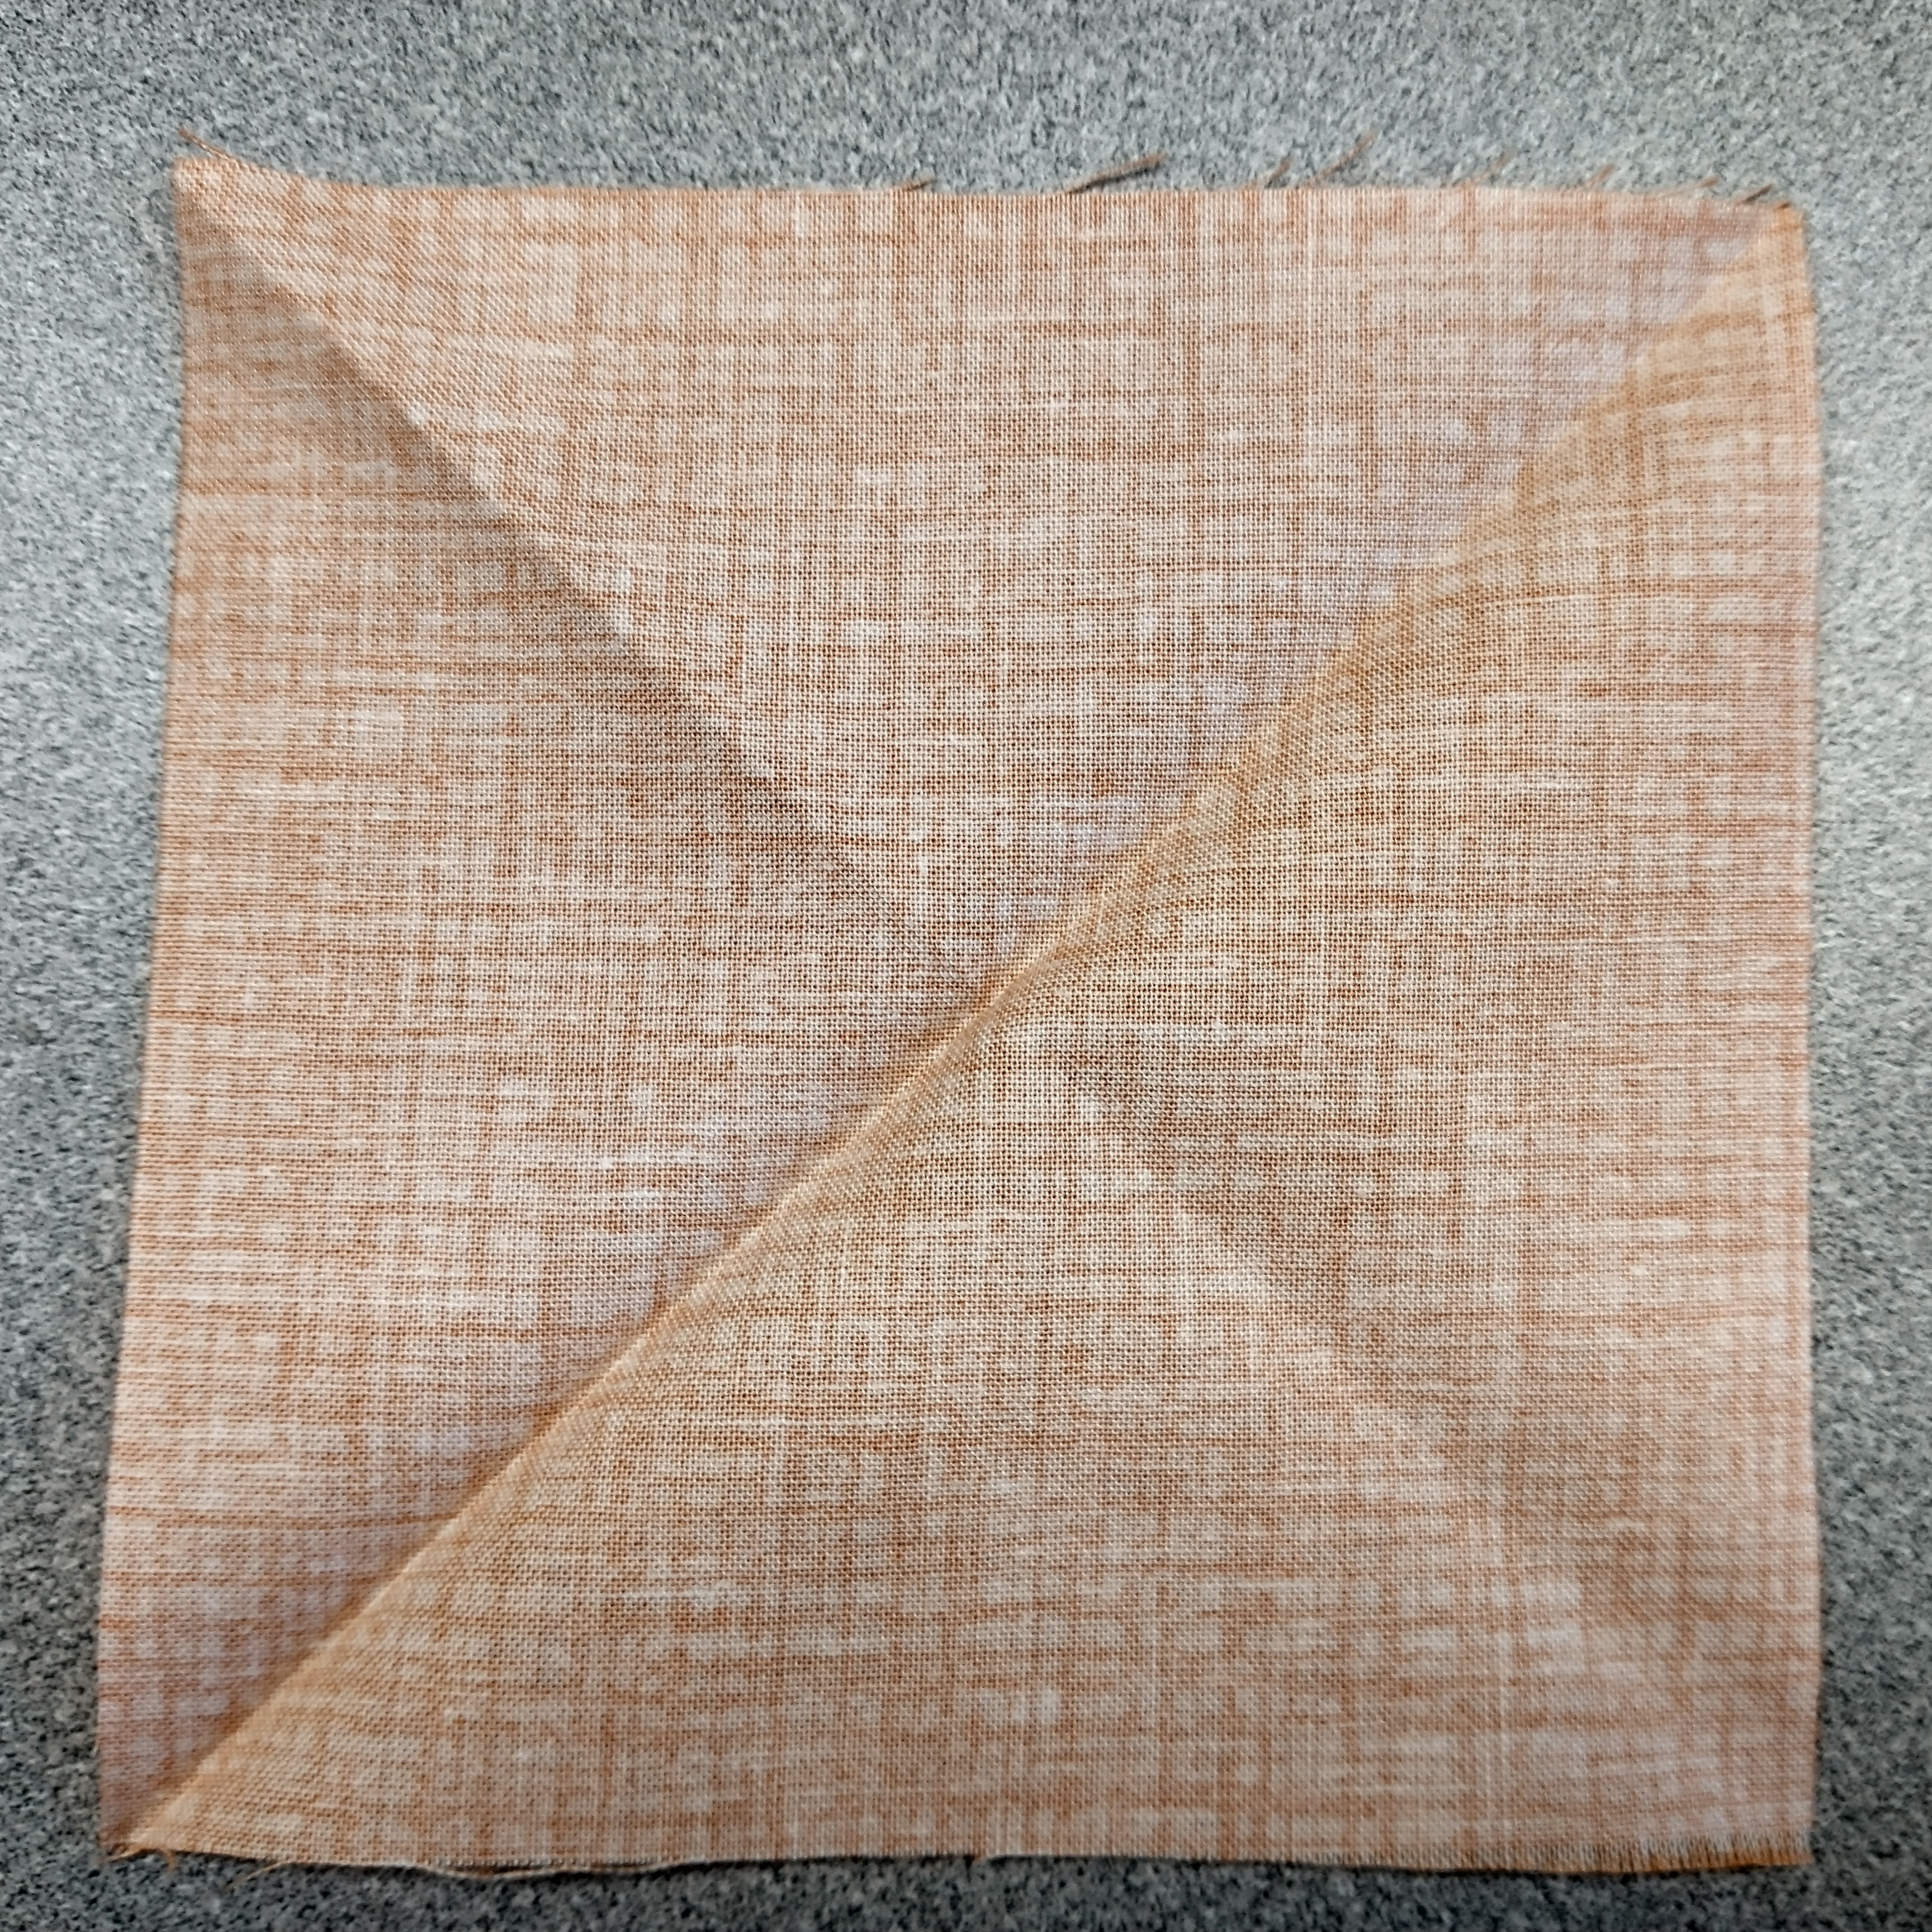
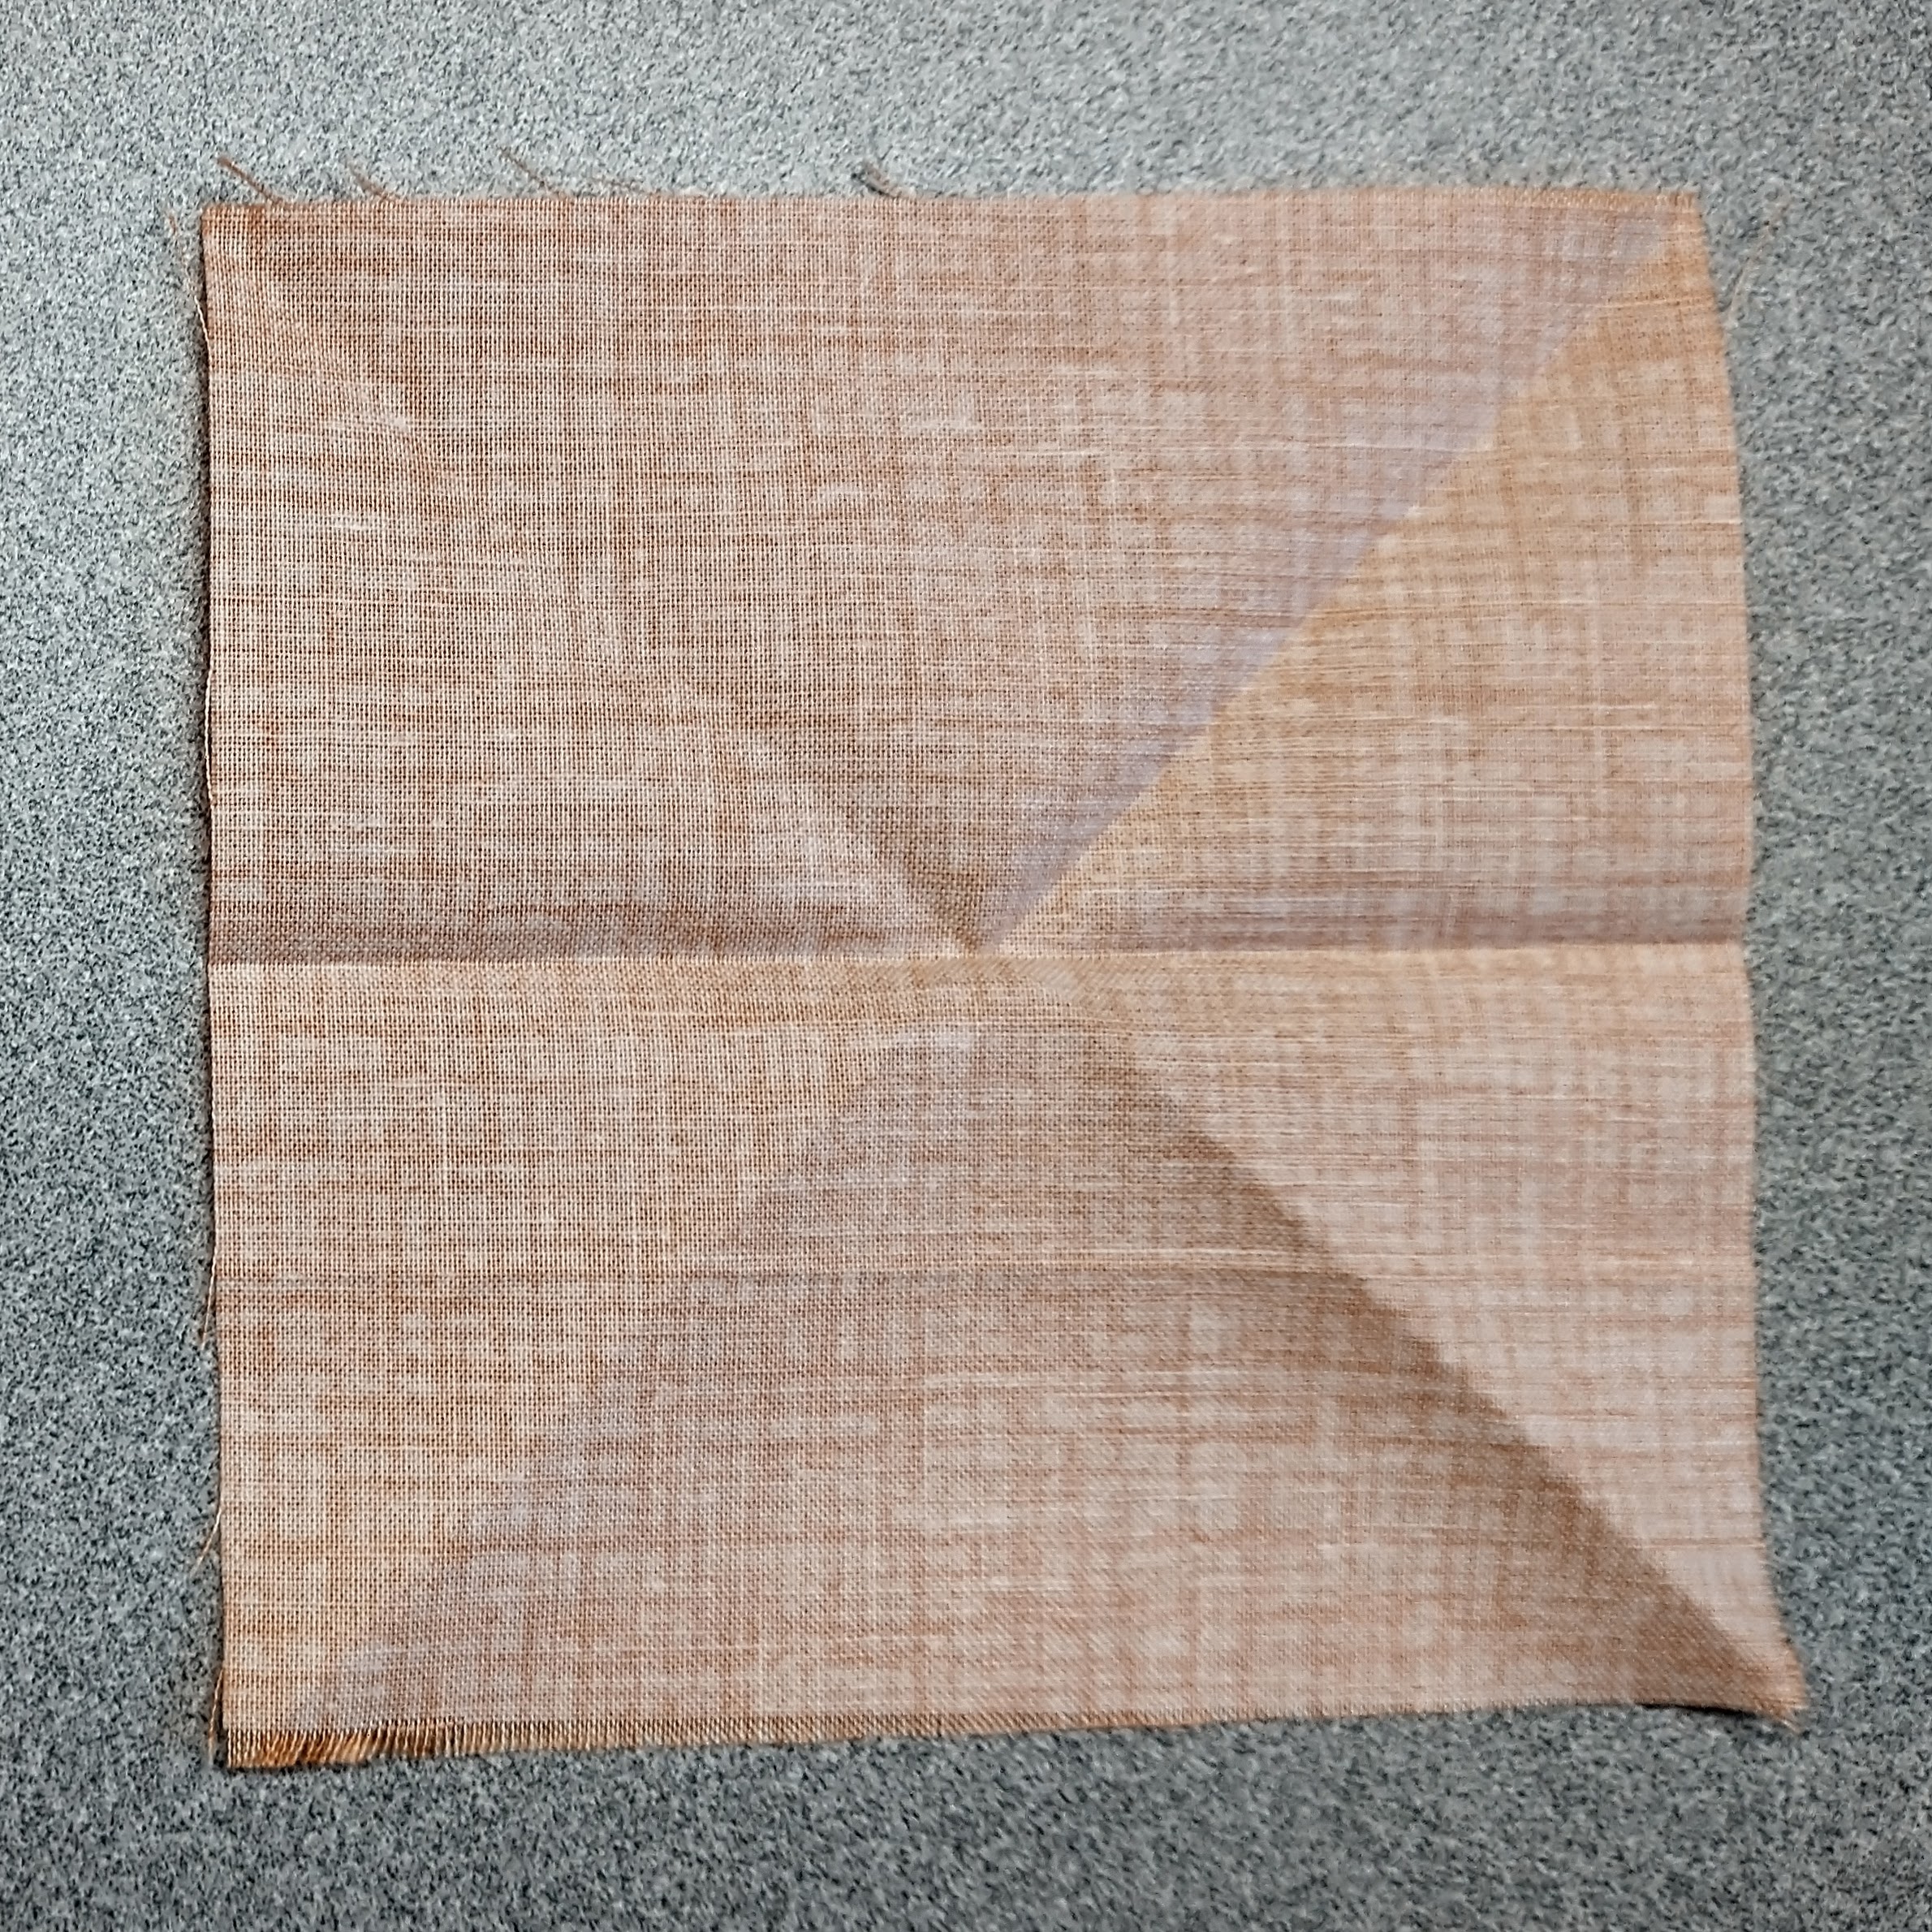
So, how do you make your prairie points?
Triangle:


Rectangle:


When adding prairie points, (or any notion for that matter: lace, ric-rac, pom-poms, scallops, etc.) be sure to leave a space for the needle to pivot at the corner so your trim does not cross over the 45-degree zone, or your prairie points may wrap around the corner and not lay flat!

Now, to quilt with Prairie Points, there are two options.
Option #1) Envelope Finish, which is what I used this time. Baste the prairie points to the quilt top and sandwich with backing, right sides together, then stitch around the perimeter, leaving a space about 8" for turning. Lay out the quilt with the quilt top over the batting, then pin and stitch on the same lines. Trim batting to 1" from the stitches. Turn the quilt right side out. Try my favorite "no-clip" technique to get the corners square (see video↓).
Then hand-stitch the opening closed.

Give a light press, then the quilt is ready to tie or lightly quilt. See this POST for my Top 5 Tips on quilting after the edges are pre-bound and finished.

Option # 2) Machine quilt first, then add prairie points after it's quilted and trimmed. Apply the prairie points to the front of the quilt, then use a facing strip (1-1/2" x width of fabric, pressed in half, lengthwise). Apply just as you would a regular binding, but apply on one side at a time. Instead of turning the binding to the back, TURN back the quilt edge right on the stitched line. The binding facing strip folds over the raw edges and is hand-stitched to the back of the quilt. The prairie points (or whatever trim you are using) will stand out. Whip-stitch the ends to cover the corners. This technique is a little bit bulky, but still gives a nice finished edge. See this TUTORIAL. It's for scallops, but the principle is the very same.
Either way, prairie points make a fun and fancy finish!

Now we get to figure out some fun games to play with this quilt!


Eat Your Veggies fabric is making its way to retail and online quilt shops soon!

This is such a fun quilt and that is an adorable cutie sitting on it!
ReplyDeleteThanks, Carol, I adore that little cutie and will do anything to get a smile out of him!
ReplyDelete