Cut it out, stitch it on, done! For applique' the easy way, a blanket stitch is my go-to. Many recent projects have had some sort of applique', and all of them used a blanket stitch.
Applique' turned this Simple Sadie quilt
into something super sweet for my niece's new baby! I love to take clues from a cute print and enlarge the motif.
(I also took clues from the print for the quilting motifs. Fabric: Gigi Giraffes?)
A blanket stitch is formed with a straight stitch along the outer edge of the applique' followed by a perpendicular stitch in and out of the applique' shape.
I think it gives a neat, clean finish to raw-edge applique'. Don't have a blanket-stitch option on your machine? Try another decorative stitch, blind-hem stitch, even a shortened zig-zag stitch.
Here are a few TIPS:
* You know that little hole on the hook of the bobbin case? Now is the time to thread the bobbin through it! This creates a little bit of extra tension so the bobbin thread won't peek through to the top.
Or you can reduce the top tension by a little. Or do both.
* Test your stitches on a scrap of fabric. If you find that it puckers too much, try using a stabilizer such as freezer paper. Press the waxy side of freezer paper to the wrong side of your fabric. The stitches will perforate the paper and you can tear it off afterwards. Play with the stitch length and width to see what looks good to you. I generally use a width of about 2.0 to 2.5 with the stitch length also at 2.5.
* I like to match the thread color to the applique', but some people use black thread overall for a rustic, folk-artsy charm.
* Position applique' using lightweight fusible web, glue stick, 505 fabric adhesive spray, or pin in place (see more ways to prep and stitch in my raw-edge machine applique' basics tutorial:
I ♥ Applique').
* If possible, use an open-toe foot so you can see where you're stitching. If you position your needle to the right, it will be easier to gauge where the fabric should line up.
*Stitch in the ditch for the forward-moving stitches - the needle should hug the applique' edge for the outline stitch in the background fabric. Aim for a perpendicular line from the edge for the horizontal stitches. That can be a bit tricky on curves, but if the needle is down, it's easier to accomplish. Pivot with the needle in the "ditch", either before or after the horizontal stitch. Sometimes, you just have to slow down and operate one stitch at a time.
* Some machines have a needle down option - very useful so you don't lose your position, especially when pivoting to change directions. Otherwise, use the hand wheel to position the needle down.
*Lock stitches at the beginning and ending by holding the fabric so you get a couple of stitches in the same position. If sewing around a shape, overlap the end stitches over the beginning stitches.
 |
| Little wall-hangings for choir seamstresses using scraps from our choir dresses. |
Blanket-stitch applique' worked great on these ↑ polyester scraps. It also worked beautifully on Minky plush fur too! (See some faux fur tips
HERE.)
 |
| A comfy, cuddlesoft comfortor for someone special. |
The other day, my Aunt & Uncle came over to make some quilts for gifts, also blanket-stitch applique' projects. Uncle Jack cut everything out and Aunt Margie got a good start stitching them down. We used 505 basting spray to adhere the pieces.
They both rocked it!! (See their final results
HERE.) Ü
Not bad for a couple of 83-year-olds! Loved it!
 |
| Armed & Dangerous. |


 COURSE INSTRUCTOR:
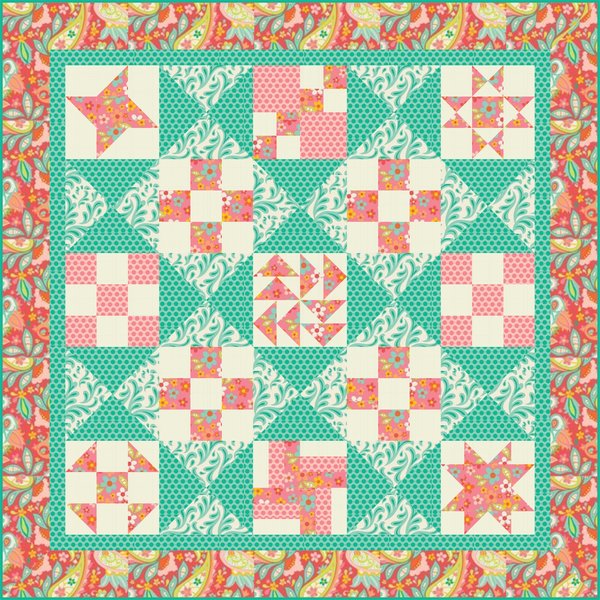
 27" x 27"


 42" x 42" Baby Quilt


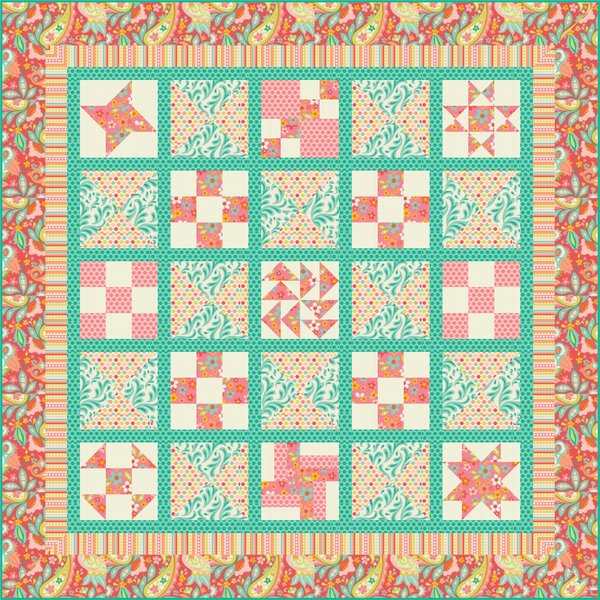
 60 x 60" Lap Quilt with Setting blocks, Sashing and two Borders